
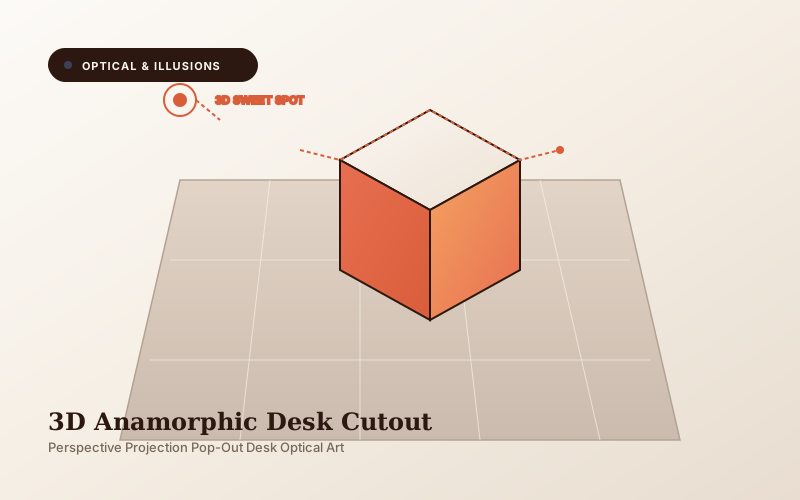
How to Create a 3D Anamorphic Desk Cutout
Perspective Projection Pop-Out Illusion on a Flat Sheet of Paper
What You Need Before Starting
Folding Instructions (5 Steps)
Follow each step in order. Press your folds firmly against the table using your thumbnail or a ruler for maximum performance.
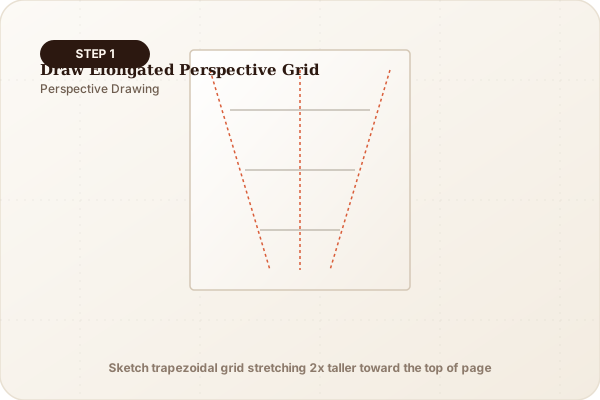
Draw the Elongated Perspective Grid
Draw an elongated trapezoid grid that expands as it moves up the page. Draw an isometric cube whose top face is stretched twice as long as the bottom.
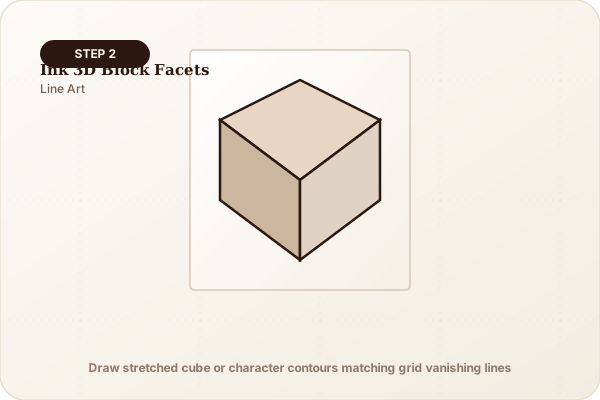
Ink the 3D Block Facets
Outline the 3D cube edges with a bold black marker: top facet, left facet, and right facet.
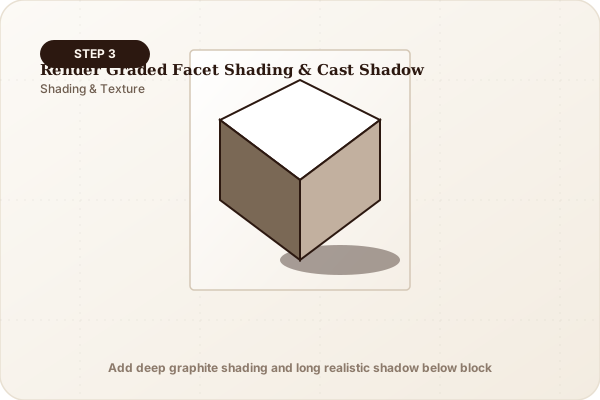
Render Graded Facet Shading & Cast Shadow
Leave the top face pure white (highlight). Shade the left face light gray, the right face terracotta/medium, and shade a dark black cast shadow stretching across the right floor.
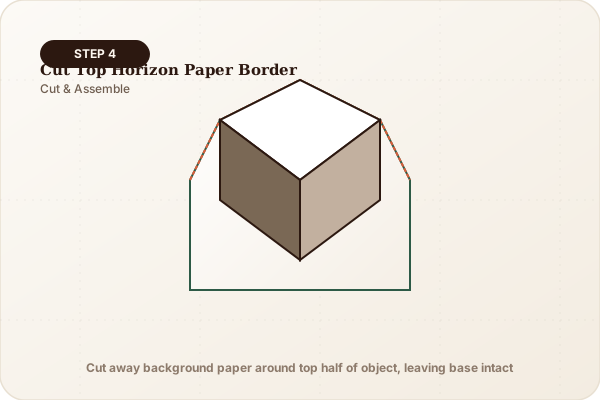
Cut the Top Horizon Paper Border
Use scissors to cut away the top half of the white paper around the upper contour of the cube, leaving only the lower half intact.
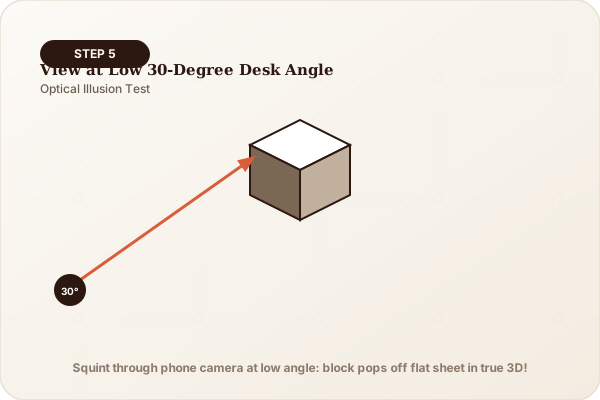
View at Low 30-Degree Desk Angle
Place the paper flat on a desk. Lower your eyes to a 30-degree angle from the bottom edge (or view through a smartphone camera lens).
Anamorphic Perspective & Foreshortening Geometry
Anamorphosis uses mathematically distorted grid scaling. The top half of the drawing is stretched out up to 3 times longer than normal. When viewed from a low oblique angle (around 30 degrees), optical foreshortening compresses the elongated drawing, restoring perfect square proportions and tricking your depth perception into seeing a free-standing 3D object.
Adding a dark cast shadow below the object creates a visual depth cue that separates the object from the desk surface.
Skills Your Child Develops with This Craft
Renaissance Linear Perspective Principles
Understanding how Renaissance masters used vanishing points and foreshortening to simulate 3D reality on 2D surfaces.
Tonal Value Shading & Cast Shadow Rendering
Using light, medium, and dark shading gradients to indicate virtual light sources.
Camera Framing & Angle Calibration
Finding the precise optical focal point where perspective distortions resolve into crisp 3D illusions.
Fun Family Mini-Games to Play
The Real-Object Comparison Photo
Place a real dice or small coin right next to your anamorphic 3D drawing. Snap a photo from the sweet spot where both look completely real!
Floating Hole in the Desk Illusion
Draw an anamorphic 3D ladder disappearing down into a dark rectangular hole in the desk using the same perspective guidelines.
Parent Note:
Anamorphic street art and 3D sidewalk chalk paintings use this exact mathematical technique. Children gain tremendous pride seeing their own drawings "stand up" on table surfaces.
More Projects in Optical & Illusions & Beyond
How to Create a Spinning Optical Thaumatrope
Craft a classic Victorian optical illusion toy featuring twin images on opposite sides of a disk that merge into a single animation when twirled rapidly.
How to Create a Tri-Hexaflexagon
Fold a mind-bending mathematical paper hexagon that flexes and pinches open from its center to reveal hidden geometric faces and kaleidoscopic patterns.
How to Create a 3D Hollow-Face Dragon Sculpture
Build the famous Gardner hollow-face origami dragon whose head appears to physically turn and watch you as you walk past the room.