Festival Card Making: Multi-Layered Pop-Up & Silhouette Greeting Cards
Engineer dynamic mechanical pop-up stages and stained-glass silhouette cards for every holiday.

The Lost Art of Handwritten Connection
Historical Origin
Dating back to ancient Chinese New Year message exchanges and Victorian Christmas postal greetings sent across continents.
Symbolic Meaning
A handwritten, hand-engineered card conveys intentional love and thoughtfulness that digital text messages can never duplicate.
Developmental Skills & Cognitive Milestones
Paper Engineering & Kinematics
Calculating parallel 45-degree angle folds that compress flat and pop open.
Written Thought Articulation
Composing sincere personal letters and holiday blessings.
Gather non-toxic, eco-friendly supplies before beginning. Most can be found around the home or garden.
- Heavy blank cardstock (300 gsm)
- Translucent colored vellum / parchment
- Metallic gel pens
- Craft knife & steel ruler
- Foam mounting tape
- Double-sided tape runner
Step-by-Step Crafting Instructions
Follow these 5 guided steps with your child. Encourage creative personalization and patience throughout each stage.
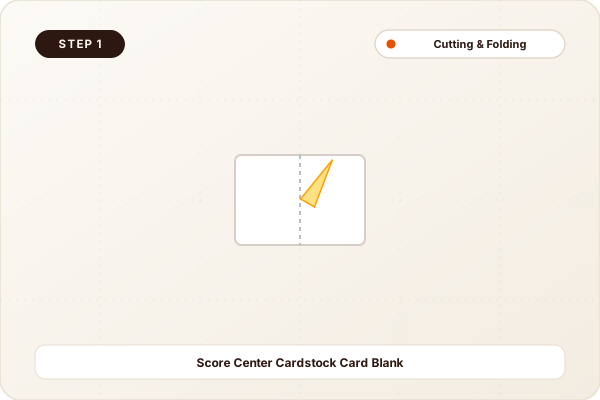
Score Center Cardstock Card Blank
Score a clean center fold line on a 300 gsm card blank. Smooth with a bone folder so the card snaps shut crisp and flat.
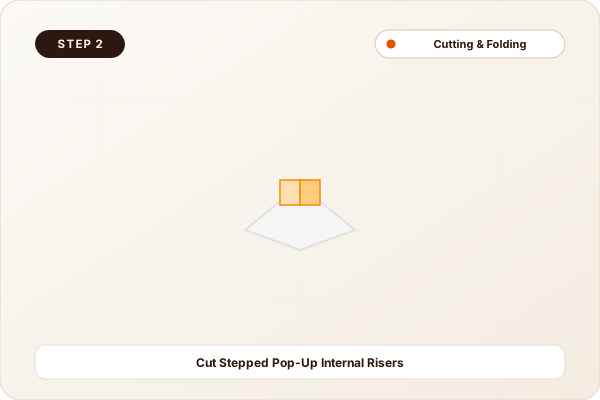
Cut Stepped Pop-Up Internal Risers
Inside the inner fold, make two pairs of parallel cuts of different depths (3cm and 5cm). Push the tabs inward so they pop forward when opened.
Mount Detailed Silhouettes onto Risers
Cut detailed festival silhouettes (holiday trees, Diwali diyas, birthday cakes, or spring blossoms) and glue to the front face of each pop-up riser.
Create Stained-Glass Vellum Window Cover
Cut a window aperture in the front cover. Glue colorful translucent parchment paper behind it with silhouette trees or stars.
Inscribe Heartfelt Calligraphic Verse
Write a warm holiday message with metallic gold or white gel pen. Slip into a handmade parchment envelope sealed with a wax stamp sticker.
Connecting Hands to Heritage
Encourage kids to write cards to long-distance grandparents or teachers. A handmade pop-up card is often preserved on mantlepieces for decades.
More Festival & Holiday Crafts
View All 35
Festival Coloring Crafts: Giant Symmetrical Mandala Floor Mats

Festival Paper Crafts: 3D Paper Torans & Accordion Honeycomb Festoons